Excel-lent Cataloging!
Hello, Readers!
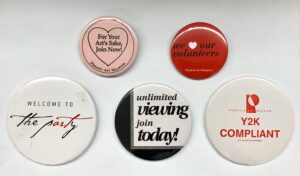
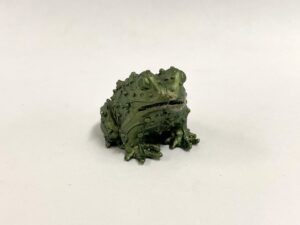
This week at PAM, I learned how to digitally catalog items from the archives. The archives keeps track and preserves a variety of different items, including things like documents and newspapers that I worked with for the gallery as well as artifacts such as pins and t-shirts that I got to work with this week. It was really cool to see how each item was stored and labeled, and I even got to learn the history behind some of the items. For example, there was a box full of pins made to promote a campaign for the museum’s building expansion in 1993-1996.

Since the cataloging was digital, I had to take pictures of each item. I expected it to be hard and for the pictures to be bad because I still only had my phone to work with, but it ended up being way better than before. This is mainly due to the fact that I had control over environmental factors such as the color of the background and the angle of the lighting because I was not limited to taking pictures of an item already mounted on the wall. I regret not doing the same for the items in the gallery, but it is already finished.

After the pictures, I input information about the item into – you guessed it – a spreadsheet. Since I already worked a lot with spreadsheets previously, I felt more comfortable using them, making my task less grueling than doing the condition reports. I resolved my dislike with Google Sheets and Microsoft Excel, even if they still frustrate me at times.
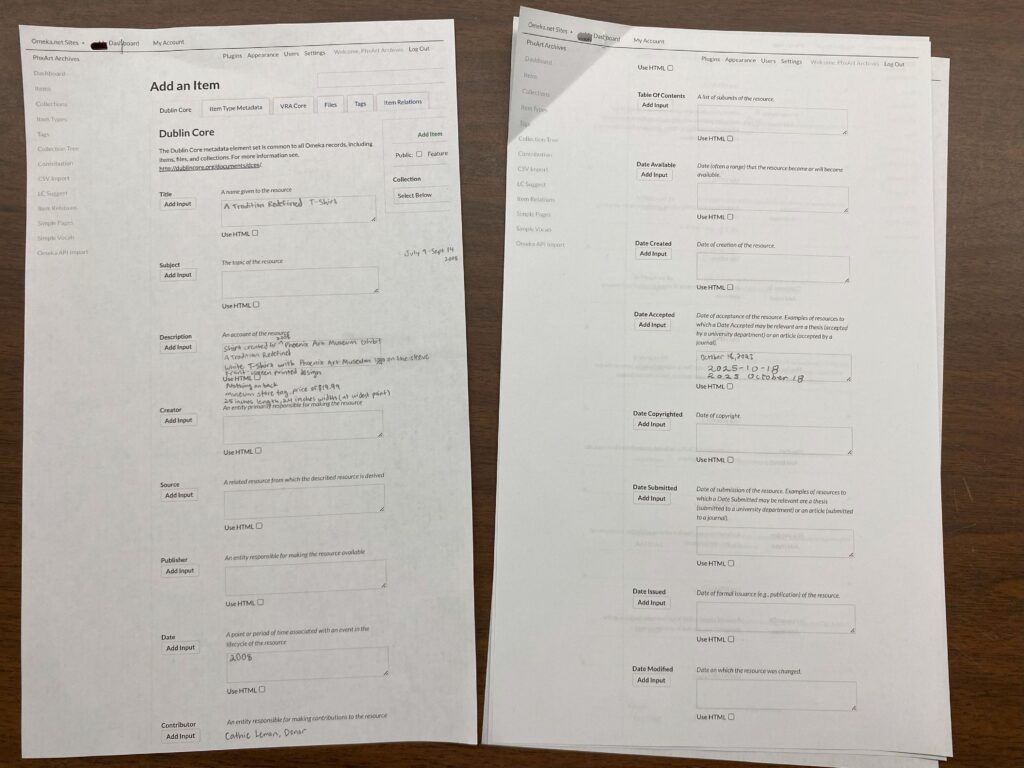
But, I did not only work with spreadsheets; I had the opportunity to learn how to use a different program for digital cataloging. My mentor taught me how to use a program called Omeka, where the information can be gathered in a website-like manner. It takes the metadata we write into the program and organizes it in a way where it can easily be accessed in a list. Unfortunately, I cannot show the progress on Omeka yet, but instead, I have added a photograph of the packet of vocabulary terms that I could reference if I was confused on anything related to digital cataloging.
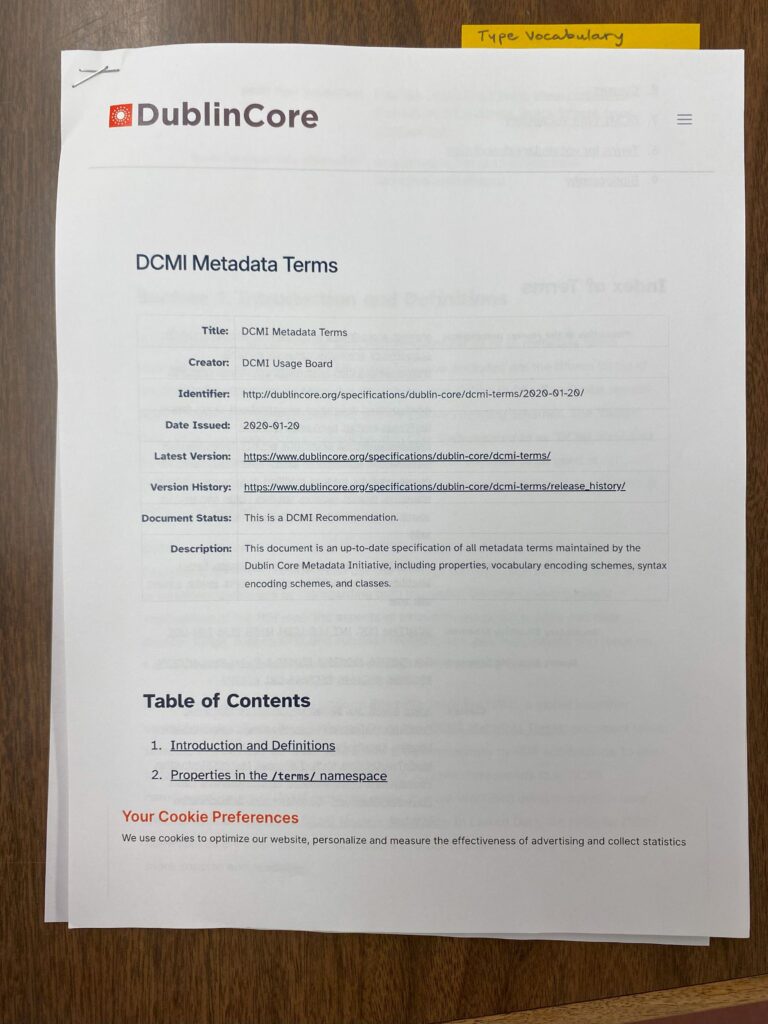
The front of the page says “Dublin Core” because that is the name of the method of organizing the metadata for archival objects. This means Omeka will ask for input such as “creator”, “subject”, and “description.” The other option is VRA Core, which is used for objects relating to fine art. It asks for input for fields like “artist/maker”, “collection”, and “cultural context.”
In addition to my work with Omeka, I got to see the way the museum catalogs their objects. It is different from the way my mentor is doing it, as the program is Piction Discoverer rather than Omeka. But, a lot of the information inputted is the same, such as a description and the format and medium of the object. I had a lot of fun browsing part of the museum’s collection, and I would have loved to see the metadata of every single object if I had the time.
I did a lot of detailed descriptions for the cataloging, so I decided to make my poem short and simple:
Spreadsheets –
Since I now Excel at using them
I have a better Outlook on life,
Painful times thrown out the Windows
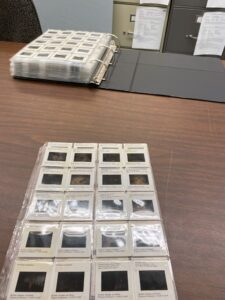
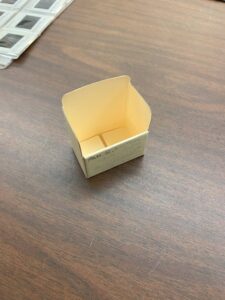
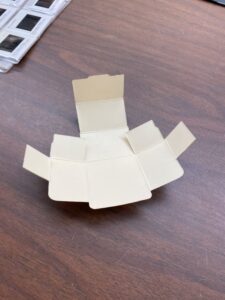
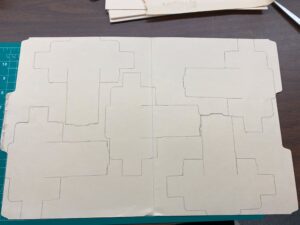
The last thing I did this week was something different: making boxes for slides. The slides are little pictures framed with a sturdy, cardstock-like material that can be placed in front of a light to show the photograph. The archives has a large collection of them, but some of them were stored in plastic sheets unsuitable for the slides. Others were in polypropylene sheets, which was okay since the sheets were approved for archival use; however, we needed to move the ones in the normal plastic sheet to prevent degradation. My mentor taught me how to make little storage boxes out of old folders, both recycling the material while also creating a way to organize the slides. I made 13 boxes this week while another volunteer sorted the slides and labeled them.
Next week, I will continue the digital catalog and perhaps make some more slide boxes if we need them.
Comments:
All viewpoints are welcome but profane, threatening, disrespectful, or harassing comments will not be tolerated and are subject to moderation up to, and including, full deletion.