4/15/24: The Assembly
The helmet has technically been made, all that has to be done at this point is actually assemble it together. The next few days I expect to be doing a lot of drilling and riveting to properly attach all the pieces to the helmet. If all goes well, I could have this finished in the next week, and I am very excited for that. The last piece I needed to make was the iron brow guard which was fitted perfectly to match the contour of the helmet.

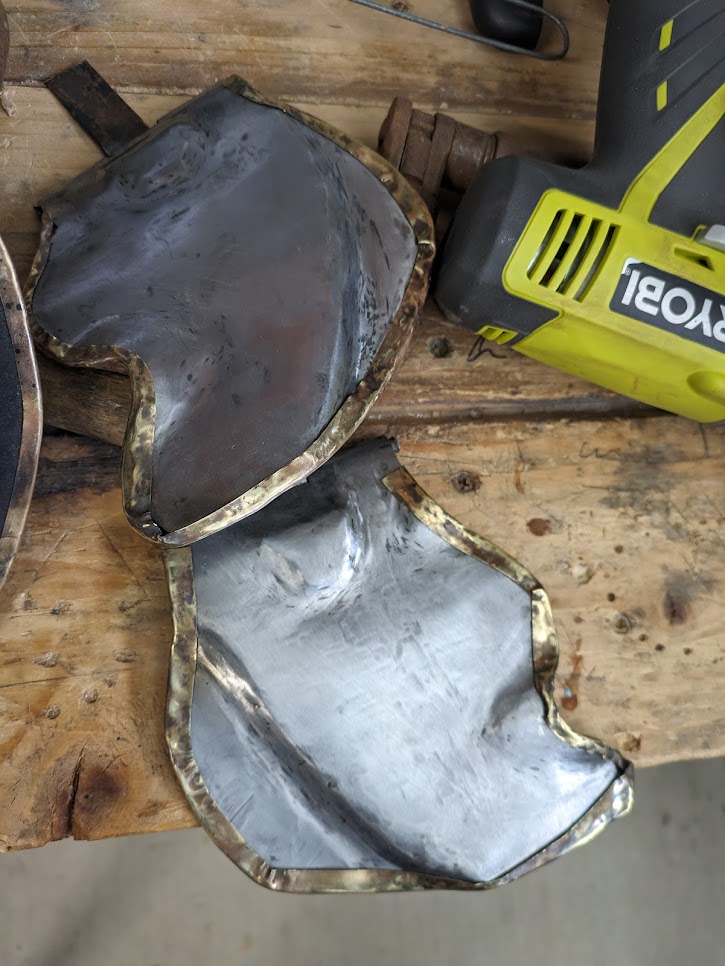
Last week I also managed to fit the brass trim around the cheek guards. It’s a little messed up in some places but I’d probably get better at this with more practice and thinner material. There is also a little bit more sanding I’ll have to do as well as some polishing but that can be done later, once it is all assembled. You can also see that I assembled the hinge already and thankfully they both rotate freely.
I’ll be assembling the helmet for now on using what are known as rivets. Rivets are permanent fasteners, meaning they are not able to be “undone” like a bolt or a screw. To make a rivet, I cut off a section of round bar (steel or brass) and set it in a hole I drilled. To attach a piece, I would drill two matching holes and overlay them. After that, I hammer onto the ends of the rivet to mushroom them out. Now, both pieces are attached by that rivet and are bound to one another.
